
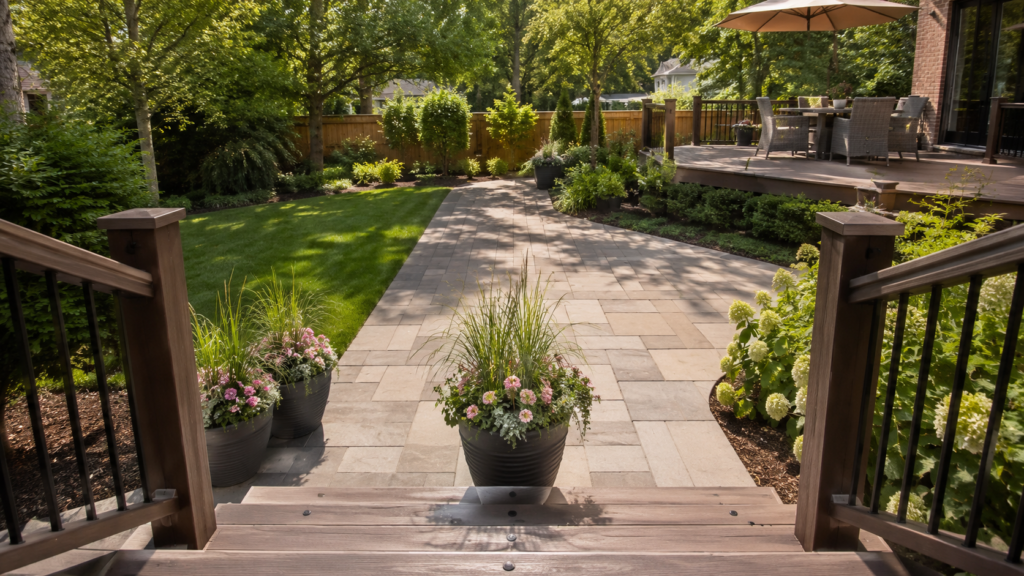
Deck stair planter ideas can transform plain outdoor steps into a greener, more welcoming transition between your deck and backyard. The best arrangements use stable containers beside the staircase, keep every tread and handrail clear, and direct drainage away from walking surfaces and deck boards.
Large pots usually work best beside the top or bottom landing, while slim troughs, railing boxes and vertical planters suit narrow stairs. Before choosing a design, measure the available space, check sunlight and wind exposure, and consider the plants’ mature size. In most cases, one to three well-positioned planters create a safer and more polished result than placing pots on every step.
Best Deck Stair Planter Layouts
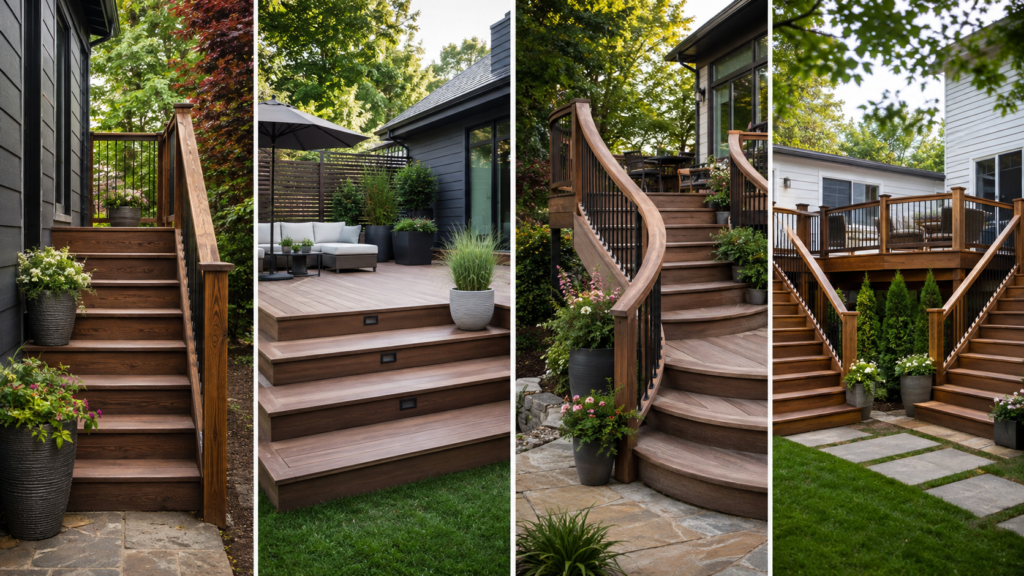
Match the planter layout to the shape and use of the staircase. Narrow stairs need vertical or off-step planting, while wide platform steps can support larger containers outside the central route. Built-in designs suit new construction, but freestanding pots are easier to move, clean and replace.
For narrow straight stairs, use one compact bottom planter, an exterior railing box or a slim vertical planter. For wide stairs, use a graduated group or selected edge pots. Wraparound steps look more defined with two substantial corner planters, while curved stairs suit rounded containers. High staircases often benefit from long troughs, cascading boxes or planting beneath the stairs.
Before installation, confirm that:
- Every tread and landing remains clear.
- The handrail can be used continuously.
- Mature foliage will not enter the route.
- The container has a stable base.
- Water drains away from stairs and decking.
- The planter can be maintained without leaning over the steps.
Deck Stair Planter Planning Guide
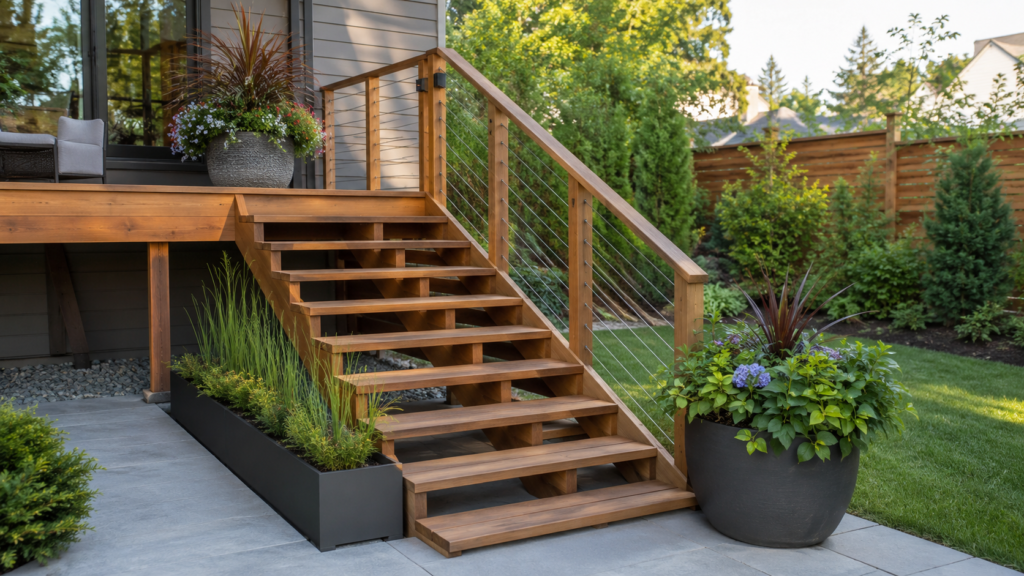
A simple way to plan the area is to divide it into three zones. The upper arrival zone is where the deck meets the stairs. The stair-side transition zone follows the outer edge of the staircase. The lower destination zone is where the stairs meet the lawn, patio or garden path.
You do not need to use all three zones. A small staircase may need only one focal pot at the bottom. A larger staircase can support a planter at the top, a trough along one side and a larger container at ground level. The goal is to create a clear visual sequence rather than scatter pots randomly.
Every layout should also pass five checks:
- Walking space: The normal route remains open.
- Handrail access: Plants and brackets do not interrupt the grip.
- Stability: The pot cannot slide or tip easily.
- Drainage: Runoff avoids treads, landings and structural timber.
- Maintenance: Watering and pruning can be done safely.
Test the design with empty containers before filling them. Walk up and down while carrying a tray, garden tool or bulky object. This often reveals clearance problems that are easy to miss during visual planning.
Freestanding Deck Stair Planter Ideas
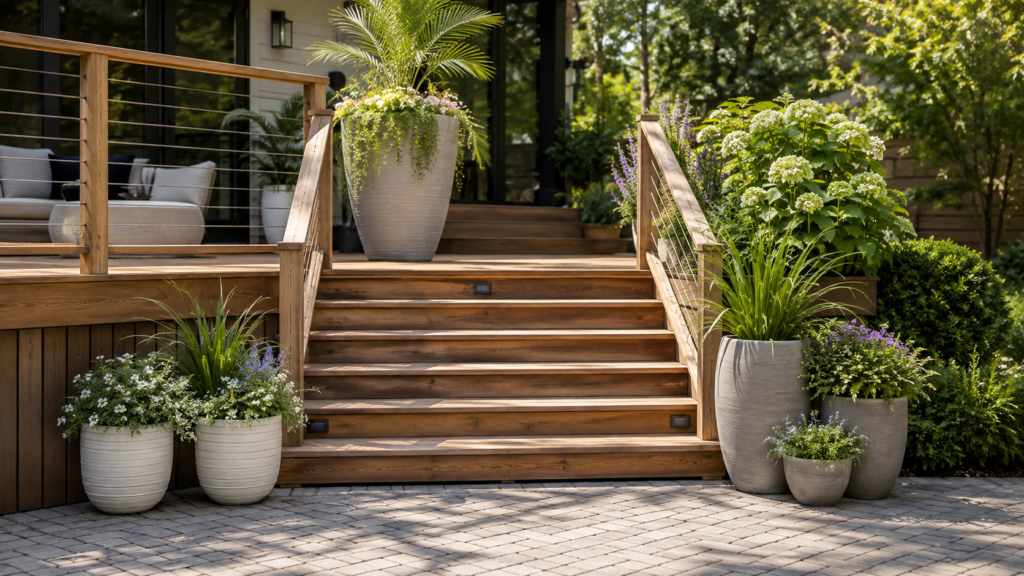
1. Matching Planters at the Bottom
A matching pair placed outside the lower corners creates a balanced entrance and connects the stairs to the garden. Use upright grasses, compact shrubs or clipped evergreens that stay within the width of the container. This layout works best when both sides of the landing are equally open.
2. One Oversized Statement Pot
One large planter can create more impact than several small pots. Place it beside the lower landing or at the outer edge of a generous upper landing. Choose a broad-based container and position it before filling because wet potting mix can make it difficult to move.
3. Graduated Pots Beside the Stairs
Arrange three coordinated pots in large, medium and small sizes so they follow the direction of the staircase. Keep them beside the stringer rather than on the treads. Repeat one feature, such as colour, material or foliage tone, to make the group feel intentional.
4. Pots on Extra-Wide Steps
Broad platform-style steps may have enough unused outer space for a few low containers. Use pots on selected levels rather than every tread, and keep them behind the step edge. This idea is best for terrace-like stairs with a wide central route.
5. A One-Sided Planter Ribbon
Use several coordinated pots along one side while leaving the opposite side open. This works well where one side has a wall, fence or visually heavy railing. Use a larger anchor pot near the bottom and smaller containers farther up.
Space-Saving Deck Stair Planter Ideas
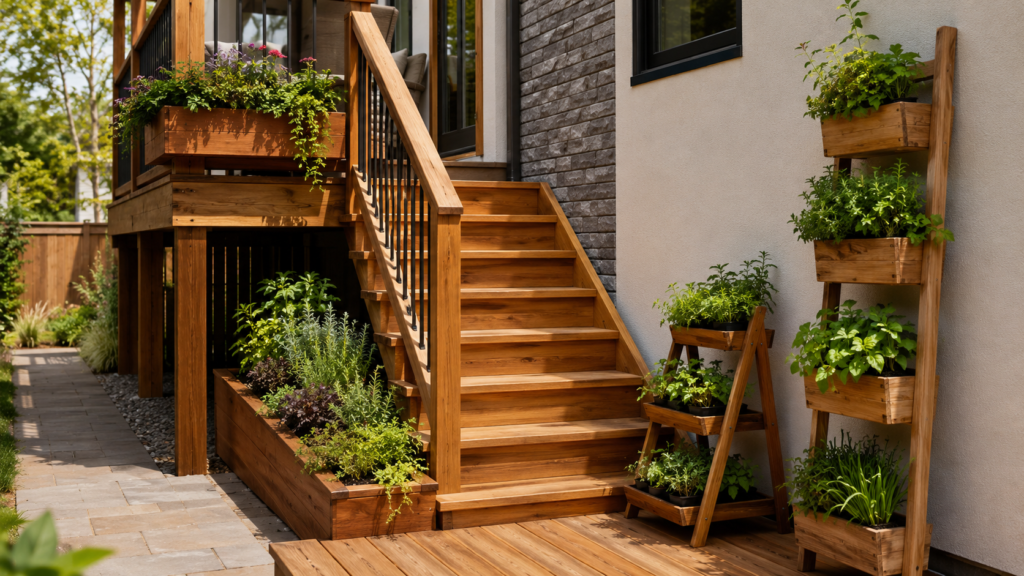
6. A Trough Outside the Stringer
A narrow rectangular trough can follow the line of the staircase without occupying the steps. Place it on an independent, level base and leave enough space to inspect the stringer and fasteners. A removable inner liner makes cleaning and replanting easier.
7. Exterior Railing Planters
Railing boxes add greenery without using floor space. Use purpose-made brackets that fit the railing and can support the fully planted weight. Keep foliage away from the handrail and direct drainage toward the garden rather than the stairs.
8. A Tiered Planter by the Landing
A tiered stand can hold several small pots in a compact footprint. Place heavier containers on the lower level and lighter pots above. This is especially useful for herbs or seasonal flowers because each plant can remain in a separate container.
9. A Vertical Planter Beside Narrow Stairs
Wall-mounted pockets, stacked pots or a trellis planter can add height without spreading into the route. Mount the system to a suitable wall, fence or independent support. Check each level separately because upper pockets often dry faster than lower ones.
10. One Compact Landing Pot
A small landing usually looks better with one carefully chosen planter than several tiny pots. Position it outside the door swing and turning area. Select an upright plant and a stable container with enough visual weight to stand alone.
Built-In and Architectural Planter Ideas
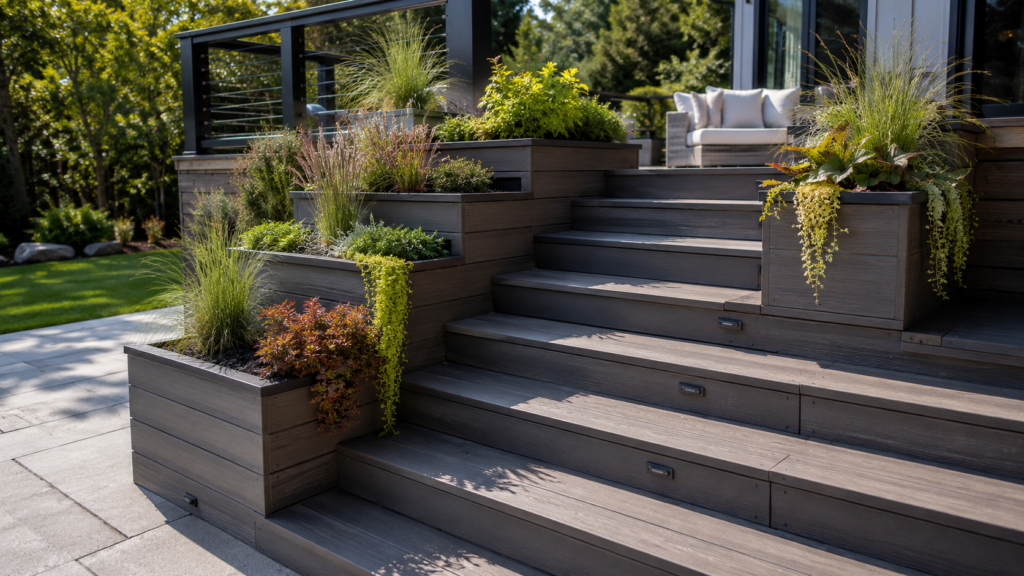
11. Built-In Boxes Beside the Stairs
Integrated side boxes can make planting feel like part of the deck. Use waterproof liners or removable inserts instead of placing wet soil directly against decorative timber or composite boards. Permanent boxes should allow drainage and structural inspection.
12. Cascading Planter Boxes
Two or three planter levels can step down beside the staircase and soften a tall structure. Use taller plants at the top, rounded fillers in the middle and lower plants near the bottom. Each level needs controlled drainage.
13. A Bench With End Planters
A bench with planter boxes at one or both ends can turn a large landing into a small seating area. Use soft, non-thorny plants and keep the approach to the stairs completely open. This idea only works where the landing is much larger than the circulation area.
14. Corner Planters for Wraparound Steps
Large corner pots help define the main route across wide wraparound stairs. Observe how people approach from different directions before positioning them. Use permanent structural plants in the main containers and smaller seasonal pots for changing colour.
15. Composite-Clad Planters
A planter clad in the same or a complementary composite material can match a modern deck. Use the cladding around a separate inner container and leave ventilation between the two. Keep the design simple so the planter does not compete with the stair structure.
16. Stone-Look Pots Against Timber
Stone, concrete or mineral-effect containers create useful contrast against warm timber. Real stone is stable but very heavy, while fibre or resin alternatives are easier to move. Use simple planting because the container already provides strong texture.
17. Planting Beneath Open Stairs
The ground beneath open stairs can hold shade-tolerant plants, containers or a small gravel garden. Observe the light and moisture pattern first. Keep soil and mulch away from posts, stringers and structural connections so the deck remains easy to inspect.
18. Removable Inserts in Permanent Boxes
Removable inserts protect decorative planter walls and simplify seasonal changes. In a large box, use two or three smaller inserts rather than one extremely heavy pot. The outer box still needs a clear route for drainage water.
Planter Ideas for Special Stair Shapes
19. A Central Planter Between Split Stairs
A central planter can turn the gap between two stair flights into a focal point. Use one architectural grass, compact shrub or mixed seasonal display. Keep sightlines, lighting and access to both staircases clear.
20. Rounded Pots for Curved Steps
Rounded containers repeat the shape of curved or flared stairs and avoid sharp projecting corners. Use one substantial pot or a group of three beside the widest part of the landing. Avoid lining the full curve with pots.
21. Repeated Plants Across Multi-Level Decks
Repeat one plant family, foliage colour or container shape across several deck levels. The exact plants can change according to sunlight and wind, but the repeated visual feature will connect the spaces.
Deck Stair Planting Themes
22. A Sunny Herb Display
Rosemary, thyme, oregano and sage generally suit sunny, free-draining containers. Keep herbs within easy harvesting reach and group plants with similar moisture needs. Mint is usually better in its own pot because it spreads quickly.
23. A Pollinator-Friendly Sequence
Use regionally suitable flowers with staggered bloom times. Repeat two or three colours so the display looks coordinated. Position the most active flowering containers away from narrow circulation points if household members are uncomfortable around bees.
24. A Shade-Foliage Display
Ferns, begonias, coleus, heuchera and other compact foliage plants can brighten shaded stairs. Use pale, lime, silver or variegated leaves beside dark decking. Remember that covered shade may still need regular watering because rain does not always reach the pots.
25. Drought-Tolerant Planters
Hot, exposed stairs may suit compact grasses, Mediterranean herbs and regionally appropriate drought-tolerant plants. Use larger pots because tiny containers heat and dry quickly. New plants still need close monitoring while roots establish.
26. Evergreen Structure
Compact conifers and evergreen shrubs provide year-round form. Add seasonal plants around the permanent centre to change the display without replacing the whole arrangement. Check mature size and winter hardiness before planting.
27. Seasonal Drop-In Pots
Place a smaller growing pot inside a larger decorative container. The inner pot can be replaced when the season changes or the plant needs protection. Make sure water can drain from both containers.
Best Plants for Deck Stair Planters
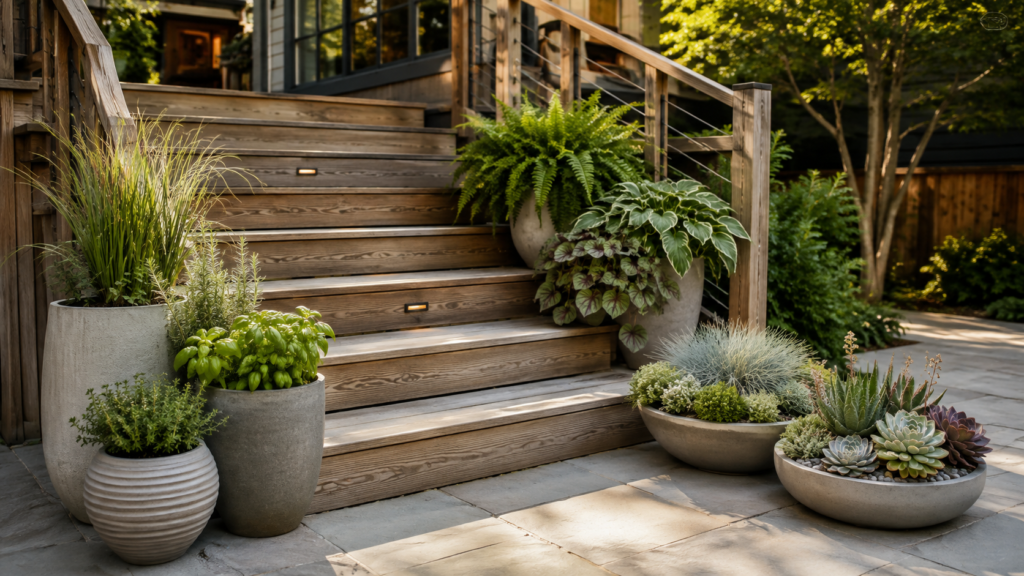
Select plants according to sunlight, mature spread, wind exposure and maintenance. Plants near stairs should remain tidy and should not drop slippery fruit, large petals or heavy debris.
Good choices by condition include:
- Full sun: Compact grasses, herbs and heat-tolerant flowers
- Partial shade: Flexible flowering and foliage plants
- Deep shade: Ferns and shade-tolerant foliage
- Wind exposure: Low, flexible plants
- Narrow routes: Upright plants with limited spread
- Busy entrances: Tidy plants with minimal shedding
Mixed containers can use one upright focal plant, one rounded filler and one trailing plant. Direct trailing growth toward the garden, not the stairs. Plants sharing one container should have similar sunlight, watering and drainage needs.
Best Deck Planter Materials
Plastic and resin planters are lightweight, affordable and easy to move. They retain moisture well but may need broad bases in windy locations. Terracotta offers a natural appearance but dries faster and may crack in freezing weather.
Concrete and stone provide stability and a substantial look, but they are difficult to move and are usually better at ground level. Timber boxes match wooden decks but need liners and protection from constant moisture. Metal suits contemporary spaces but can heat quickly in direct sun. Composite planters can imitate wood or stone, but quality and weight vary.
Choose the material according to:
- Final planted weight
- Wind exposure
- Winter conditions
- Moisture retention
- Need for portability
- Deck style
- Maintenance requirements
Planter Weight, Drainage and Deck Protection
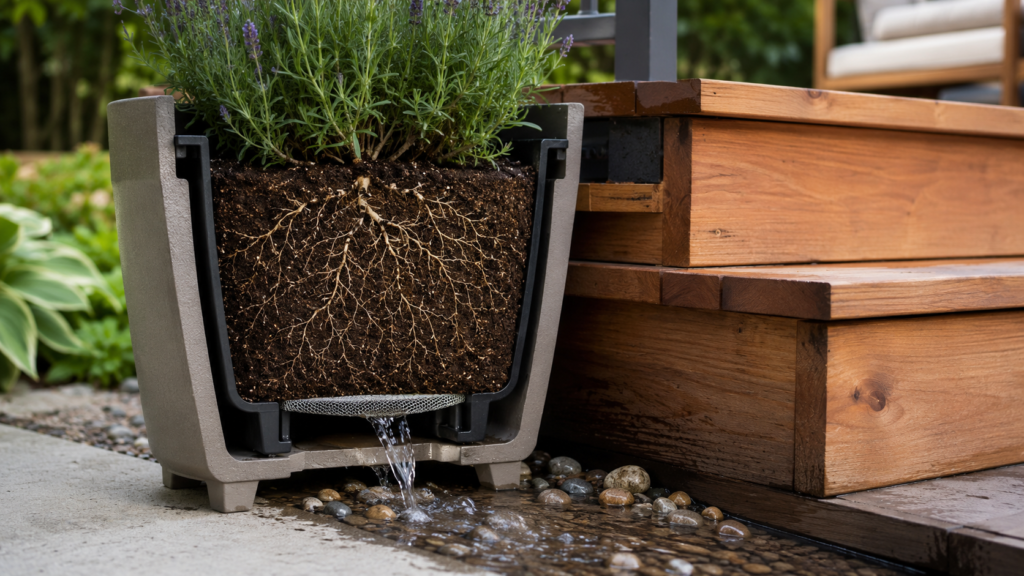
The final weight of a planter includes the pot, potting mix, retained water, roots, mature plant and decorative material. Large stone pots, built-in boxes and trees can add substantial load. Place heavy containers on the ground where possible, and seek professional advice when the supporting capacity of an elevated deck or landing is uncertain.
Use a lightweight potting mix designed for containers rather than dense garden soil. Every outdoor planter needs open drainage holes. Do not rely on a layer of gravel to fix poor drainage; it reduces root space and does not replace a suitable growing mix.
Runoff should never cross a tread, pool on a landing or remain trapped against timber. Use stable pot feet or risers to improve airflow beneath containers. Empty water-filled trays and clean beneath movable pots regularly.
Deck Stair Planter Safety Tips
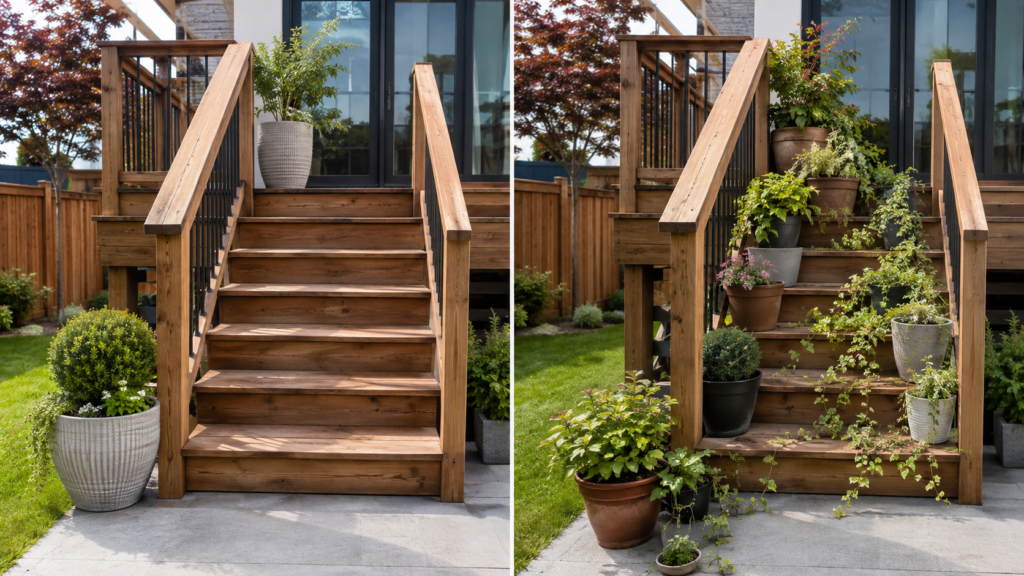
Planters should never replace a required guard, balustrade or handrail. Decorative boxes and tall plants may close an edge visually, but they do not provide structural protection.
Keep the following clear:
- Treads and landing routes
- Handrails
- Step lighting
- Door swings
- Structural fasteners
- Inspection points
Use broad, stable pots around children and pets. Avoid thorny plants, toxic species, loose decorative stones and tall, narrow containers that can tip. Secure railing boxes with suitable hardware and check them after strong wind.
Building requirements vary by location, so check local rules before changing stair width, attaching heavy planters or altering guards and handrails.
How to Install Deck Stair Planters
- Measure the stairs, landings and door movement.
- Observe sunlight, shade, rainfall and wind.
- Choose one primary planting zone.
- Select the container before the plants.
- Test the position with empty pots.
- Prepare a controlled drainage route.
- Add suitable potting mix.
- Plant according to mature size.
- Water and observe where runoff travels.
- Review the layout as plants grow.
Do not consider the installation complete until it has been tested during normal household use.
Seasonal Planter Maintenance
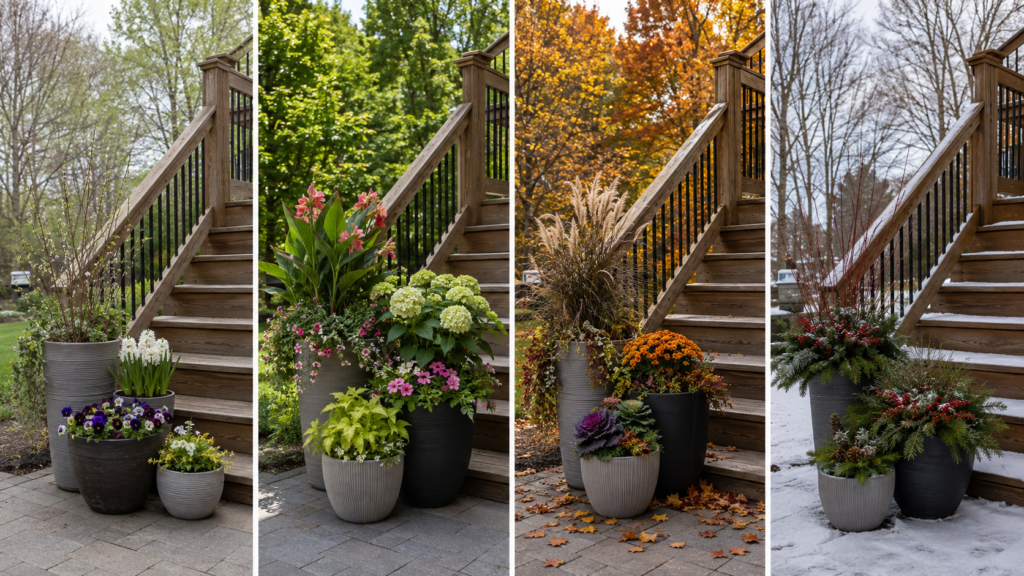
In spring, clear drainage holes, inspect brackets, remove winter damage and refresh the upper layer of potting mix. In summer, monitor exposed containers, prune growth away from the stairs and remove fallen flowers or fruit.
In autumn, clear slippery leaves, prepare frost-sensitive plants and check drainage before wetter weather. In winter, reduce watering as appropriate, keep outlets open and inspect pots for cracks after freezing conditions.
Review the route regularly. A layout that was safe when planted may become crowded once foliage matures.
Planters or Ground Planting?
Ground planting may be better when the staircase is narrow, the deck cannot support extra weight or permanent landscape softening is the main goal. A planted bed beside or beneath the stairs can reduce watering demands and keep containers away from the walking route.
Choose containers when the property is rented, controlled soil is needed, seasonal movement matters or the surrounding ground is paved or filled with tree roots. A hybrid approach often works best: use ground planting to soften the base of the staircase and add one statement pot beside the lower landing for height and seasonal colour.
Final Planning Checklist
Before buying plants, confirm that the route is clear, the pot is stable, the mature foliage will fit and the drainage path is controlled. Also check whether the planter can be moved, cleaned and maintained safely.
A suitable design should answer yes to these questions:
- Can someone carry a bulky object up the stairs?
- Can the handrail and lighting remain fully visible?
- Can runoff leave without crossing a tread?
- Can the deck structure still be inspected?
- Can children and pets move through the area safely?
Common Deck Stair Planter Mistakes
Avoid placing pots on every tread, blocking the handrail or choosing plants without checking their mature width. Do not allow drainage water to cross the stairs or fill unprotected timber boxes directly with soil.
Other common mistakes include:
- Using tiny pots in hot locations
- Attaching heavy boxes to weak railings
- Mixing plants with different water needs
- Hiding structural connections
- Blocking door movement
- Allowing trailing plants across the steps
- Moving large pots only after filling
- Choosing invasive or unsuitable plants
A smaller number of well-positioned planters is usually safer, easier to maintain and more visually effective.
FAQs
Can Planters Sit Directly on Deck Stairs?
Only use pots on exceptionally wide steps where the walking route remains fully clear. Beside-stair placement is safer for most homes.
What Are the Best Planters for Narrow Stairs?
Use one bottom pot, an exterior railing box or a vertical planter. Avoid placing containers on individual treads.
How Many Planters Are Enough?
Most small and medium staircases need one to three containers. Add more only when the area remains open and uncluttered.
Do Deck Stair Planters Need Drainage Holes?
Yes. Open drainage holes prevent waterlogged roots and allow runoff to be directed away from the stairs.
Should Rocks Go in the Bottom of a Planter?
No. Use a suitable potting mix and keep the drainage holes open instead.
Can Heavy Planters Damage a Deck?
Large planted containers can add substantial weight. Check the supporting surface and seek professional advice when necessary.
Are Railing Planters Safe?
They can be safe when compatible brackets support the fully planted weight and the handrail remains usable.
Can Planters Replace a Railing?
No. Decorative planters do not provide the structural protection of a required guard or handrail.
Best Deck Stair Planter Setup
For most existing decks, the strongest arrangement is one large planter beside the bottom landing with two smaller coordinated pots outside one stringer. This creates a clear focal point, follows the direction of the stairs and preserves the walking route.
For narrow stairs, use a railing planter, vertical planter or compact bottom pot. For new construction, consider a lined stair-side box or built-in planter at an enlarged landing, with support and drainage planned before installation.
The best deck stair planter design connects the deck to the garden while keeping every tread, landing, handrail and drainage route safe, visible and easy to maintain.

Myra is the founder and lead writer of Backyard Planter Ideas, where she shares practical, well-researched guidance on planter design, plant selection, and outdoor styling. Her goal is to help homeowners create attractive, functional garden spaces with clear, reliable, and easy-to-apply advice.